
How to Hang Large Art on Staircase Wall
Key Takeaways
- Map the stair’s angle first, then mark centerlines and anchor points to keep large art aligned and safe;
- Use the right hardware: French cleats and stud or toggle anchors for heavy pieces, and verify weight ratings;
- For a large-scale look without heavy lifting, build a big visual using lightweight, adhesive, repositionable Mixtiles;
- Test layouts with paper templates or painters tape, and confirm spacing and sightlines from the bottom and the top of the stairs.
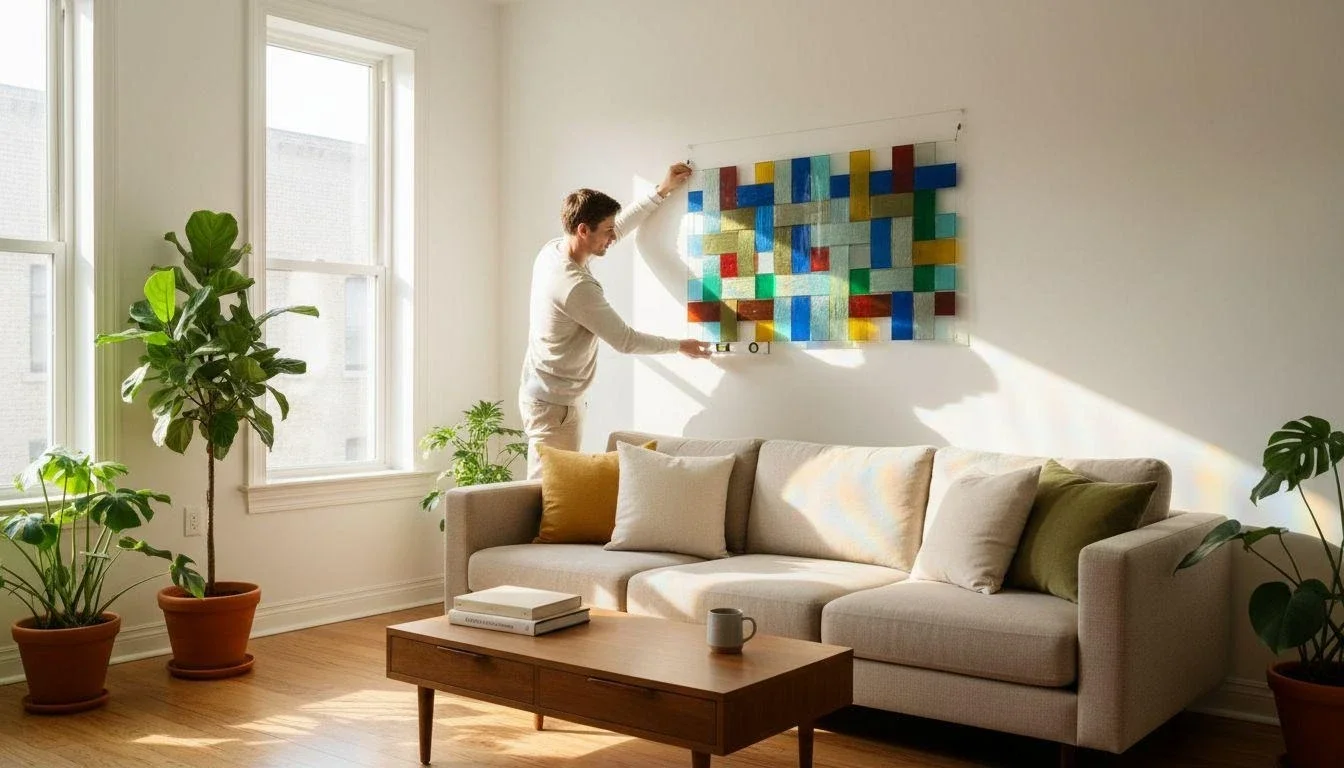
Staircases are prime display space, but getting one oversized picture hung safely and straight on an angled wall can feel intimidating. This guide breaks down how to hang large art on a staircase wall with smart planning, accurate measuring, and the right hardware. Prefer a simpler route without holes in your walls? Create the same big visual impact using lightweight, adhesive, repositionable Mixtiles. No drills, no patching. Ready to transform your staircase wall into a statement you will love at home?
Ready to make a statement? Explore our beautiful canvas prints for a classic large-art look, or design a damage-free photo gallery wall with Mixtiles.
Why is hanging large art on a staircase wall tricky?
Your footing is uneven on stairs, and sightlines change from the bottom landing to the top. Large frames add weight and torque, so the hardware you use matters. Light conditions shift along the stair, and you may need clearance around handrails, sconces, or switches. Planning for these details early helps you hang pictures at the right level, get a beautiful wall gallery look, and make sure everything stays secure over time.
What tools and safety gear do you need before you start?
Gather your essentials so you do not climb up and down the stairs multiple times. This quick checklist covers tools, hardware, and safety.
- Tools: Tape measure, pencil, stud finder, level or laser level, painters tape, kraft paper, and drill or driver;

- Hardware: French cleat kit, wood screws for studs, heavy-duty toggle anchors for drywall, and felt bumpers;

- Safety: Multi-position ladder designed for stairs or a stair platform, a spotter, non-slip shoes, and a protective blanket over the railing;

- Hire a pro if needed: Very heavy wall art or awkward turns may justify expert installation.
How do you find the right height and angle on a stair wall?
Follow the stair pitch rather than a flat level across the room. Create a sightline that tracks the handrail, then place the artwork’s visual center where people naturally look mid-flight.
Create a visual “stair line”
Run painters tape parallel to the handrail to mimic the stair angle. Mark an eye-level centerline that follows this pitch, about 57 to 60 inches from the stair treads at each point. For one large picture or print, decide where the visual center should sit around mid-flight, then mark the top edge and anchor points along that angled guide.
Check sightlines from multiple points
Step back to the bottom, pause at the landing, then see the wall from the top of the stairs. Confirm clearance from sconces and switches, and keep a comfortable margin above the handrail. Adjust your marks until the composition feels balanced from every angle.
How do you securely hang one oversized piece?
A French cleat spreads load and keeps frames plumb on stair walls. Always match or exceed the weight rating, and use studs when you can.
Choose the right hardware
Pick a French cleat rated above the artwork’s weight. If you cannot hit studs, use high-quality toggle anchors with the proper load rating. Two-point mounting prevents tilt and helps large frames sit flat.
If you are hanging a canvas specifically, see our guide on how to hang canvas art on a wall for alternative hardware and spacing tips.
Step-by-step mounting
Use these steps to keep the process simple and safe.
- Mark the artwork center and finished height on the wall along your angled guide;
- Level the wall-side cleat with a laser or long level, pre-drill, then secure into studs or toggles;
- Attach the art-side cleat to the frame, staying centered and square to the frame;
- Lift with a spotter, set the frame onto the cleat, then add felt bumpers to stop any sway;
- Stand at the bottom and the top to confirm alignment, then make small adjustments.
Want the same impact without heavy lifting or holes?
You can get a large, gallery look using Mixtiles photo tiles. These lightweight frames stick and re-stick without damaging walls, so you can hang art without tools and change your decor any time.
Build a “large art” look with Mixtiles
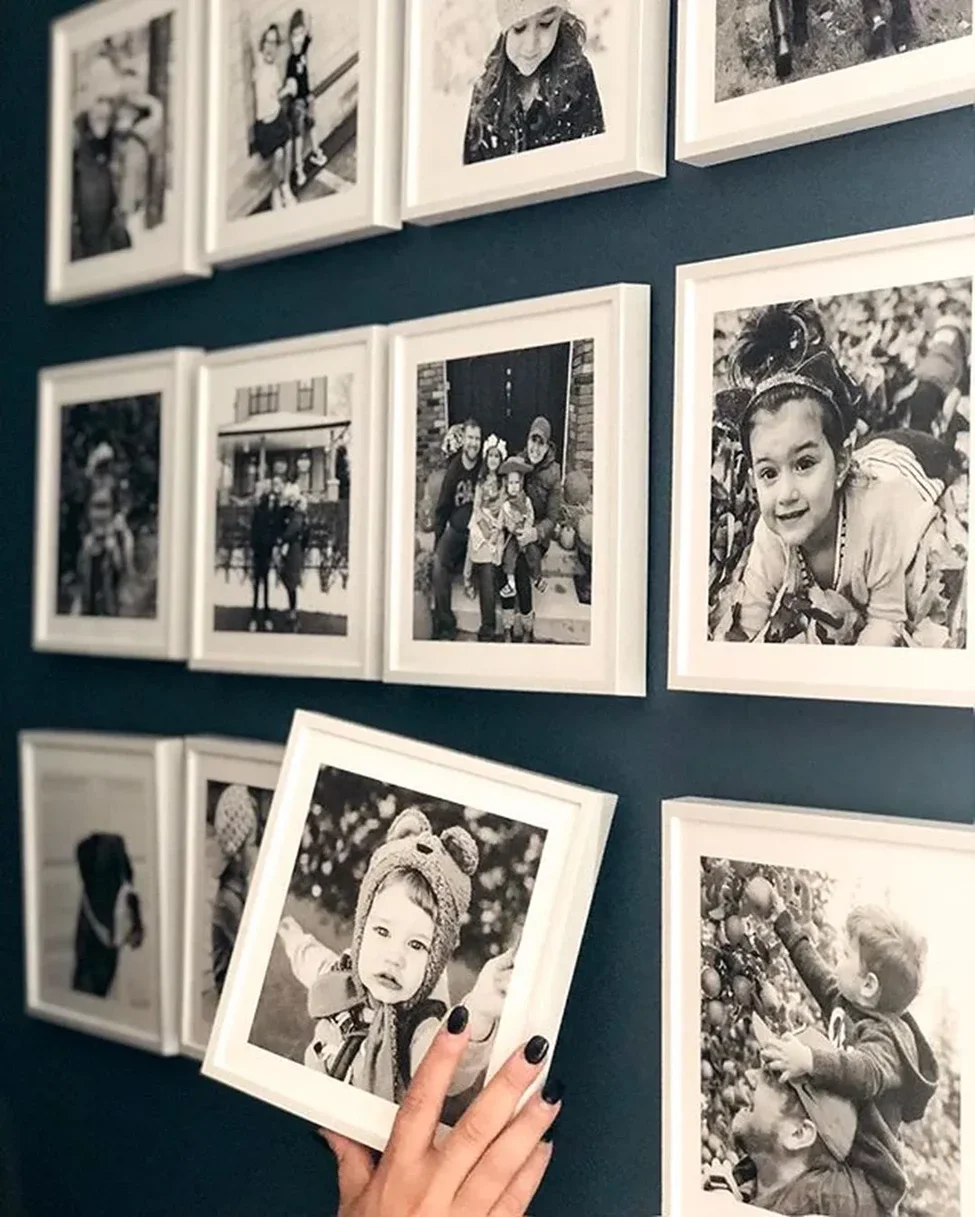
Create a bold grid or a stair-stepped arrangement that follows the handrail. Try a cohesive black and white gallery wall, a color story from a family trip, or split one panoramic photo across multiple tiles for a dramatic focal point. Mixtiles work great in a living room, stair, or hallway, and people love how fast they can move tiles around until it looks perfect.
|
Grid Layout |
Tile Size |
Approx Footprint, in |
Approx Footprint, cm |
|---|---|---|---|
|
3 × 3 |
8 × 8 |
28 × 28 |
71 × 71 |
|
3 × 4 |
12 × 12 |
40 × 54 |
102 × 137 |
|
2 × 4 |
12 × 16 |
28 × 70 |
71 × 178 |
Notes: Footprints include about 2 inches, 5 cm, spacing between tiles. For exact Mixtiles dimensions and options, you can shop sets or individual frames on the website.
Easy layout method for Mixtiles
Tape kraft paper templates to test scale, then follow the stair angle with even 2 to 3 inch spacing. Start at the visual midpoint and work outward. If you do not like a spot, pull a tile off and try again. The adhesive is strong yet gentle on walls.
Test-drive your staircase layout in minutes. Upload your photos to create custom picture tiles and preview your design on our app or website before you stick.
How do you adapt for different staircase types?
Match the layout to your stairs. Keep a consistent centerline and spacing so the whole gallery feels intentional in your house.
Straight open stairway
Stair-step the frames parallel to the handrail and keep a consistent bottom margin. A calm rhythm of equal size tiles looks clean and modern.
Stairs with landing or turn
Place the largest piece, or the center of your grid, near the landing as a focal pause. Maintain spacing around the corner so the gallery flows like one connected composition.
Narrow or tall stairwells
Go vertical with columns and lighter wall art to keep the space airy. Mirrors or light-toned frames help bounce light if the stairwell is small.
How do you avoid common mistakes?
These quick checks save time and keep your gallery looking good for years.
- Do not skip stud checks or under-rate hardware for heavy frames;
- Do not hang level to the floor while ignoring the stair pitch;
- Avoid crowding handrails, switches, or sconces, and keep safe clearances;
- Always view from the bottom and the top to confirm sightlines and scale;
- For adhesive tiles, clean the wall first and keep spacing consistent.
Whether you hang a single show-stopping canvas picture or build a big look with a lightweight grid, the secret to how to hang large art on staircase wall is planning your angle, securing the right hardware, and testing your layout. If drilling into a stairwell makes you nervous, or you want flexibility to refresh your decor, Mixtiles give you a beautiful gallery wall without holes and without stress.
Ready to create your statement wall? Turn your favorite memories into stunning 12x12 canvas prints or design a flexible gallery with Mixtiles. Get free shipping and transform your space in minutes, no nails and no mess.
Frequently Asked Questions
How do I hang pictures along a staircase so they look aligned?
Follow the stair pitch, not a flat level. Run painter’s tape or a laser parallel to the handrail. Mark an eye-level centerline 57–60 inches from the treads as it rises. Keep 2–3 inch spacing, start at the visual midpoint, and review from bottom and top.
What works best to decorate a staircase wall?
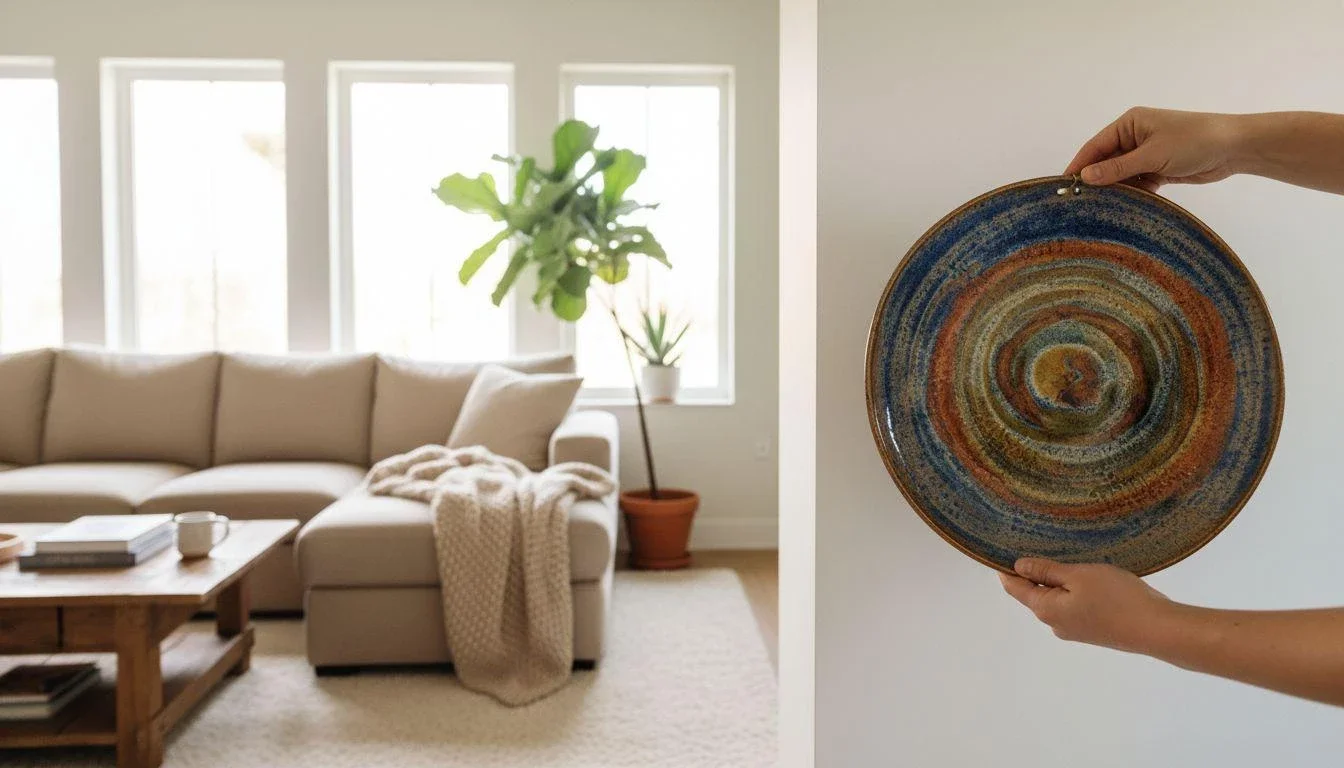
Try a statement canvas, framed prints, family photos, mirrors, or a cohesive gallery. Use lighter frames in narrow or tall wells, and mind clearances for handrails and sconces. For big impact without holes or heavy lifting, create a grid with adhesive, repositionable Mixtiles.
What is the two‑thirds rule for wall art, and does it apply to stairs?
The two‑thirds rule says your art or grouping should be about two‑thirds the width of what it relates to. On stairs, apply it to each section: make the focal piece or group roughly two‑thirds of the visible wall span or landing for balanced proportion.
How do I hang very heavy art safely on a stair wall?
Choose a rated French cleat and anchor into studs; if you can’t, use high‑quality toggles that exceed the artwork’s weight. Pre‑plan with templates, use a stair‑safe ladder and a spotter, and add felt bumpers. For very heavy or high installs, hire a pro.
Be first to know — deals, news & decor ideas.
By clicking you agree to the Terms of Use & Privacy Policy